DREAM CATCHER HOME DECOR


Laura Volpes
Ciao a tutti! Io sono Laura, crafter a tempo pieno e appassionata cardmaker e papercrafter.
Sono nata nella provincia di Roma e vivo in Inghilterra con mio marito, che è la persona che mi ha fatto scoprire il mio lato creativo! Amo creare e sperimentare continuamente con nuove tecniche e medium sempre diversi! Condivido tutti i miei lavori sui social media, dove potete trovarmi come abitofmycrafts. Spero che apprezzerete le mie creazioni con i bellissimi prodotti di ModaScrap!
Sito WebHi everyone!
It's Laura here, and today I am back to share with you how to create a DIY dream catcher and how to turn it into a beautiful home decor piece! I am going to tell you more about it in this post, but don't forget to watch the video for a step by step tutorial!
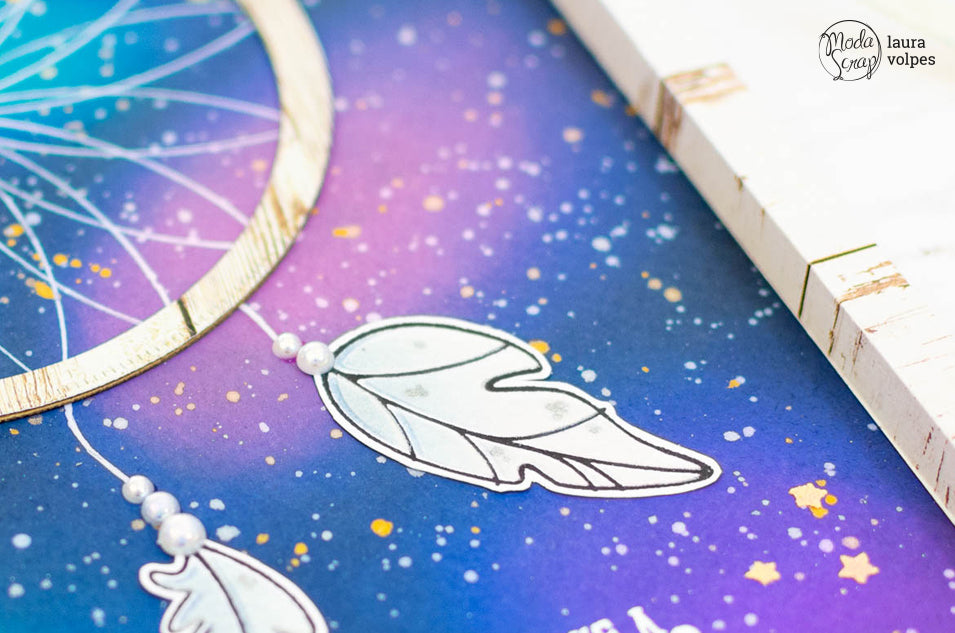
I started by creating the background. I cut some watercolor cardstock to 10 3/4 by 7 3/4 inches and I created an ink blended galaxy background with Distress Oxides. I used Black Soot, Blueprint Sketch, Peacock Feathers, Cracked Pistachio, Picked Raspberry and Wilted Violet. I created stars using Gansai Tambi Starry Colors and my Fluffy in Brilliant White.
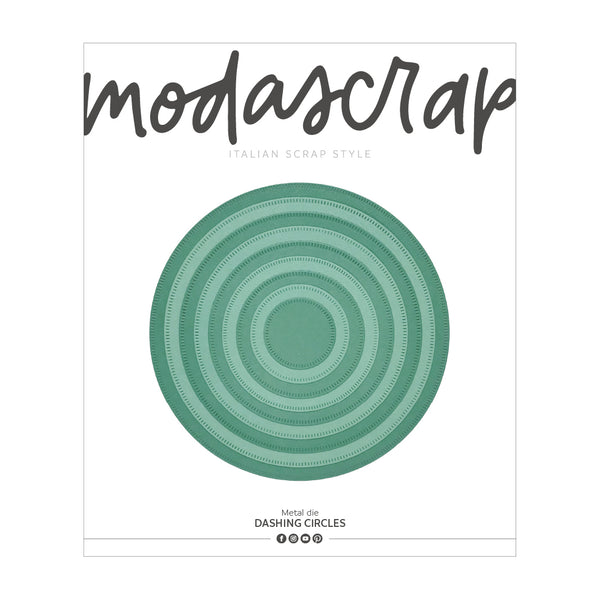
I then moved on and started creating my dreamcatcher. For the external hoop I used the Dashing Circles dies and I die cut one of the papers in the Wood Effect paper pad. I also die cut some kraft cardstock, so that I could layer all the die cut pieces and obtain a dimensional hoop.
The central part of a dreamcatcher is usually woven. However, I found it easier to simply draw the pattern on my background with a white gel pen. I created a circular guide on the background and i divided it in 16 sections. Using the largest die in the Dashing Circles set I drew my pattern inside the guide.
For the feathers I used the Feathers stamp set. I stamped the images with Versafine Claire Nocturne ink and I added color to them by ink blending Distress Inks through the Friend Stencil. This stencil coordinates perfectly with the Feathers stamp set. I also added a bit of shine by applying my Transparent Gelly to the feathers again through the Friend stencil.
I used my white gel pen to draw in the threads where the feathers are hanging from. I added some pearls to the base of the feathers as an extra embellishment.
The picture frame was created with the Happy Frame die and one of the papers in the Wood Effect paper pad. For the sentiment I used one of the stamps in the Forever Green set and, as a last step, I added some stars with the New Baby stencil and Fluffy in the color Sunshine.
And that's my project for today! Don't forget to watch the video I created for a step by step tutorial of this easy diy dreamcatcher home decor! And if you haven't already, subscribe to the ModaScrap channel for more inspiration!
Thank you all for stopping by and have a great day!
Laura.
I prodotti utilizzati:


Laura Volpes
Ciao a tutti! Io sono Laura, crafter a tempo pieno e appassionata cardmaker e papercrafter.
Sono nata nella provincia di Roma e vivo in Inghilterra con mio marito, che è la persona che mi ha fatto scoprire il mio lato creativo! Amo creare e sperimentare continuamente con nuove tecniche e medium sempre diversi! Condivido tutti i miei lavori sui social media, dove potete trovarmi come abitofmycrafts. Spero che apprezzerete le mie creazioni con i bellissimi prodotti di ModaScrap!
Sito Web